源代码链接
安装httpie 需要 python 环境
pip install --upgrade httpie
进入D:Project目录,在此目录下打开CMD,调用httpie,创建 oauth2 项目
http -d https://start.spring.io/starter.zip javaVersion==17 groupId==com.my.demo artifactId==oauthService name==oauth-service baseDir==oauth-service bootVersion==2.6.6.RELEASE dependencies==cloud-starter

image.png
将生成的oauthService.zip解压缩到当前目录,然后进入到oauth-service文件夹
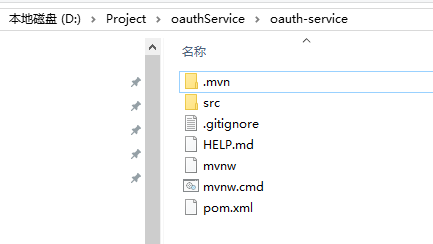
image.png
导入数据库脚本 脚本地址
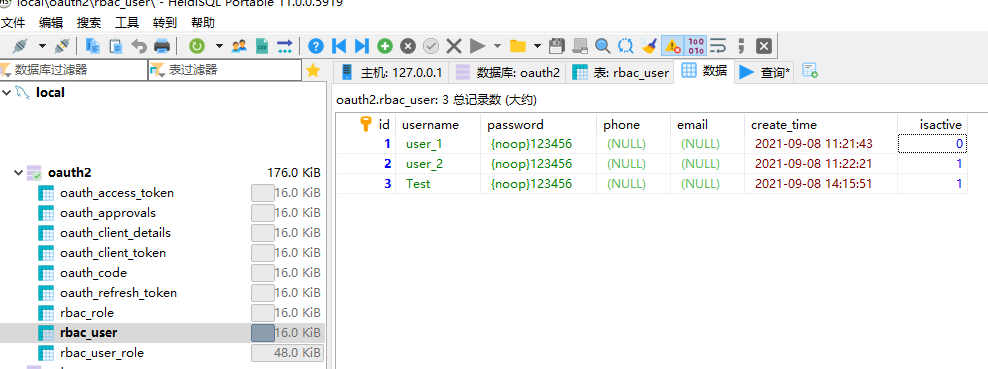
image.png
可见 user_1的 isactive 为 0,用户的密码都是 {noop}123456 的明文方式
sts中导入项目
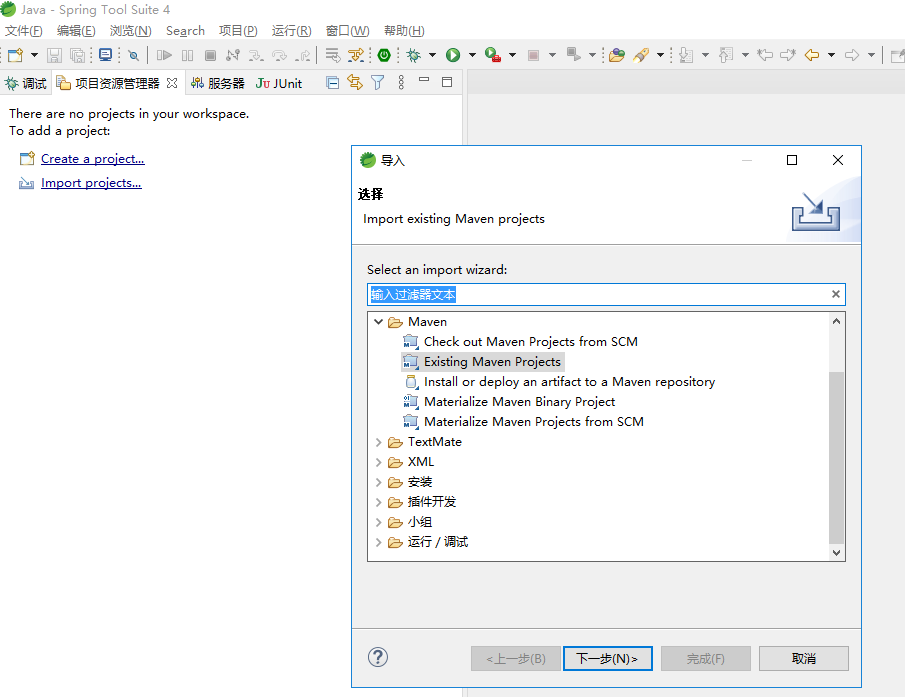
image.png
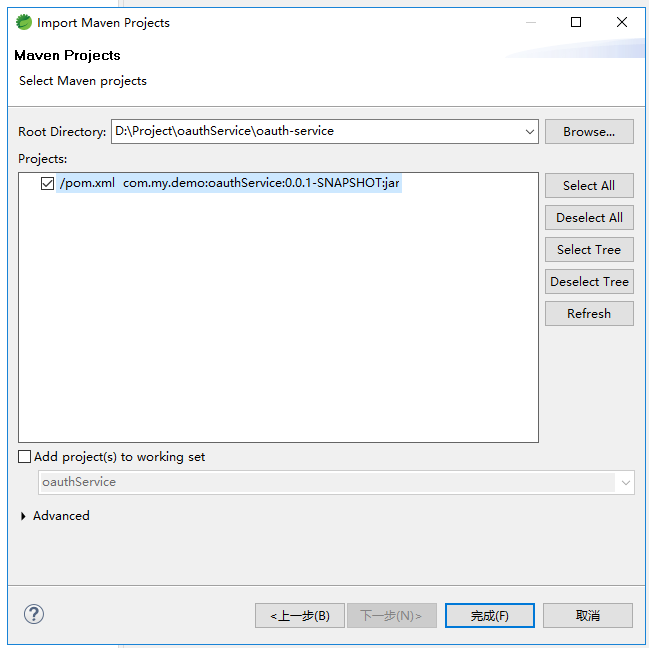
image.png
修改 POM文件,添加引用 javax.xml.bind等等一堆库 是为解决springSecurityFilterChain的编译错误
POM文件
修改 application.properties 配置文件
server.port=8509
spring.application.name=oauth-service

spring.redis.database=0
spring.redis.host=127.0.0.1
spring.redis.port=6379
spring.redis.password=
spring.redis.timeout=2000

spring.datasource.driver-class-name=com.mysql.cj.jdbc.Driver
spring.datasource.url=jdbc:mysql://127.0.0.1:3306/oauth2?serverTimezone=GMT%2B8&useSSL=false
spring.datasource.username=root
spring.datasource.password=
修改主类文件
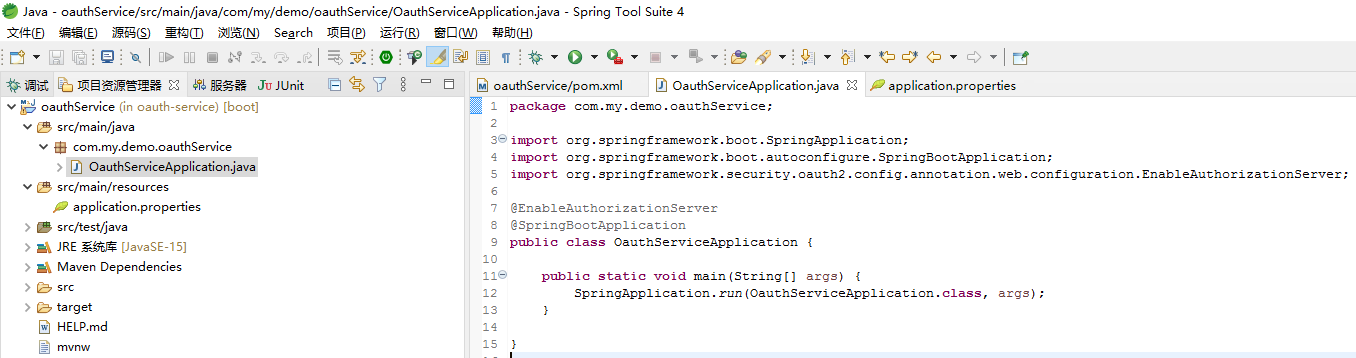
image.png
主类文件夹下建立 config, service 两个文件夹
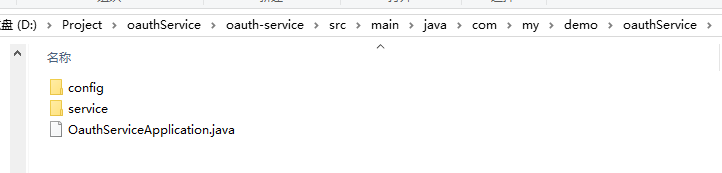
image.png
config下添加两个配置文件(WebSecurityConfig.java,AuthorizationServerConfig.java),service目录下添加Redis缓存Token实现(RedisTokenStoreService)
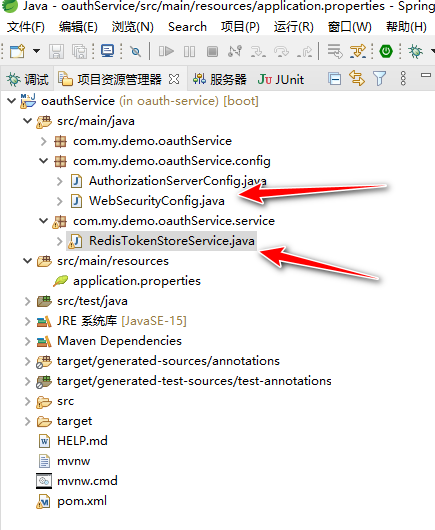
image.png
如果想用bcrypt编码 则所有的数据库端的密码都保存成
{bcrypt}$2a$10$l4Su6LU.w.HIgpHXn31Hc.1VKbkv7.EY.P7VDzJxyImrZEMDW3Hkq
同时修改AuthorizationServerConfig.java 文件
    @Autowired
    private PasswordEncoder passwordEncoder;
    @Bean
    public ClientDetailsService clientDetails() {
        JdbcClientDetailsService jdbcClientDetailsService = new JdbcClientDetailsService(dataSource);
        jdbcClientDetailsService.setPasswordEncoder(passwordEncoder);
        return jdbcClientDetailsService;
    }
编译,运行

image.png

image.png
测试
可以看到 user_1 是被禁用的
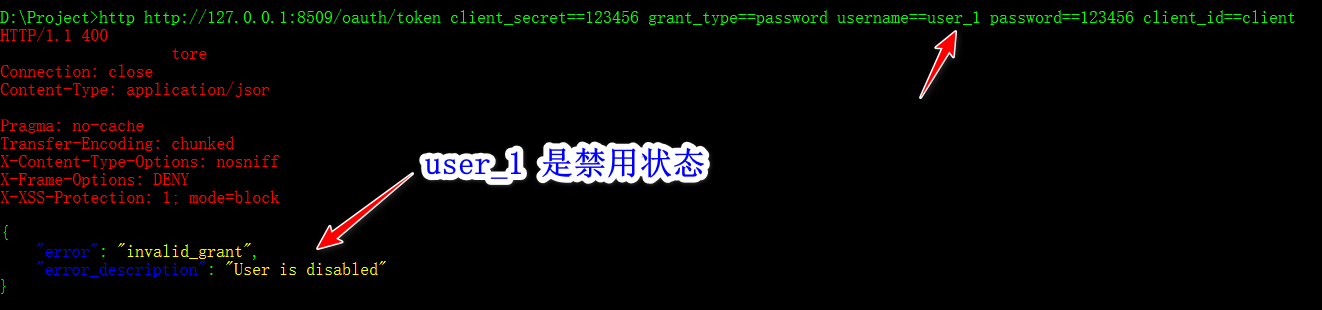
image.png
换成 Test用户,则可以获取到Token
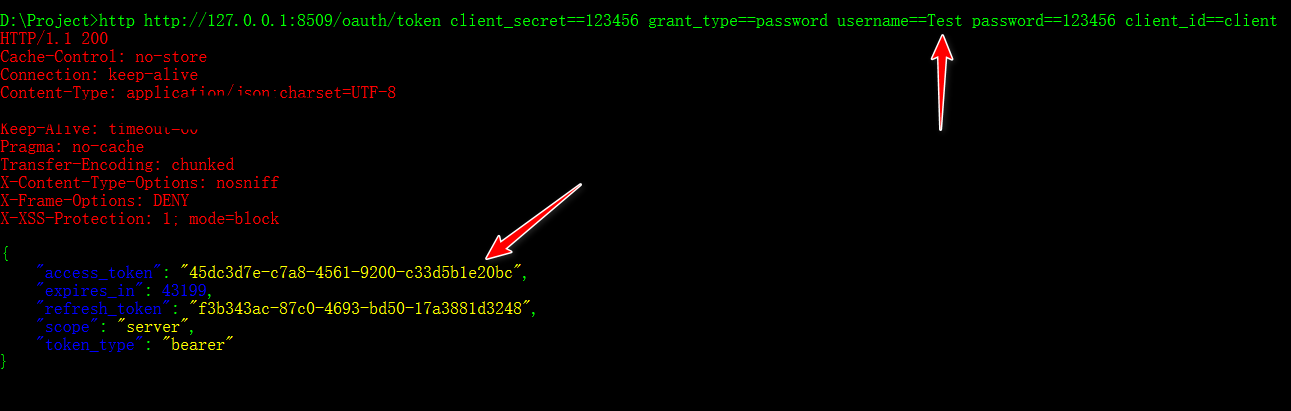
image.png
查看Redis缓存

image.png

文章评论